How to Use Your Sourdough Starter Kit: A Step-by-Step Beginner’s Guide
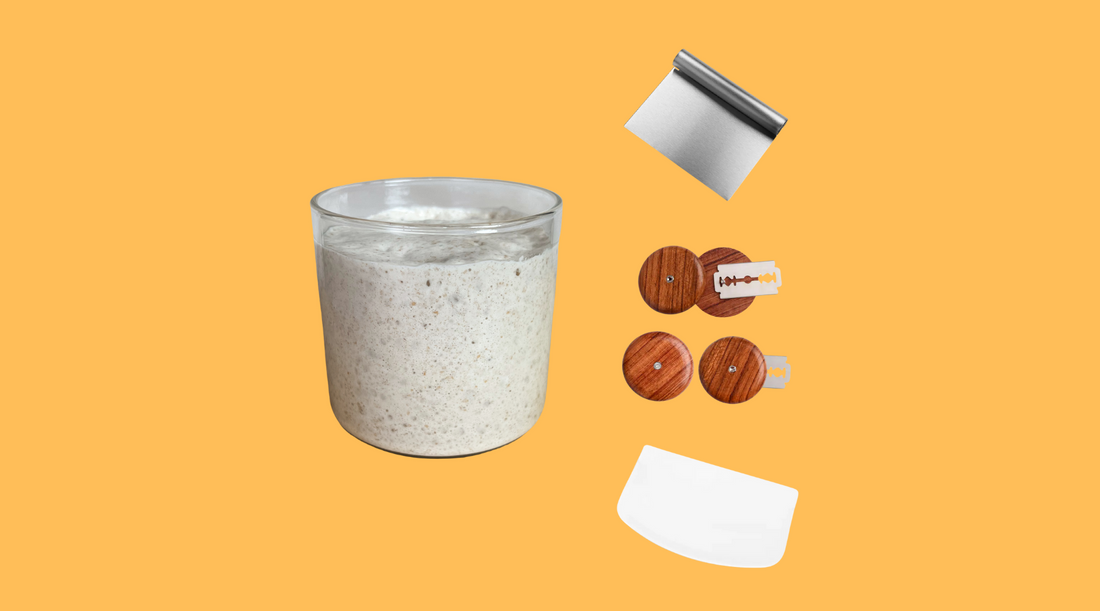
Welcome to your journey with artisan bread! Whether you’ve just purchased one of our sourdough starter kits or are eyeing our sourdough kit, this guide will walk you through every tool and step you need to bake your very first loaf. Our kits include four essential items:
- Original Sourdough Starter (ready to feed and ferment)
- Plastic Bowl Scraper (for mixing and dough management)
- Metal Bench Scraper (for portioning and folding)
- Bread Lame (for professional scoring)
Let’s dive in!
1. Meet Your Original Sourdough Starter
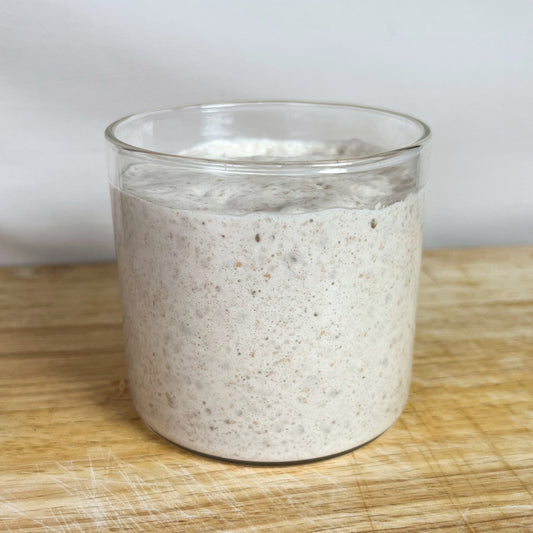
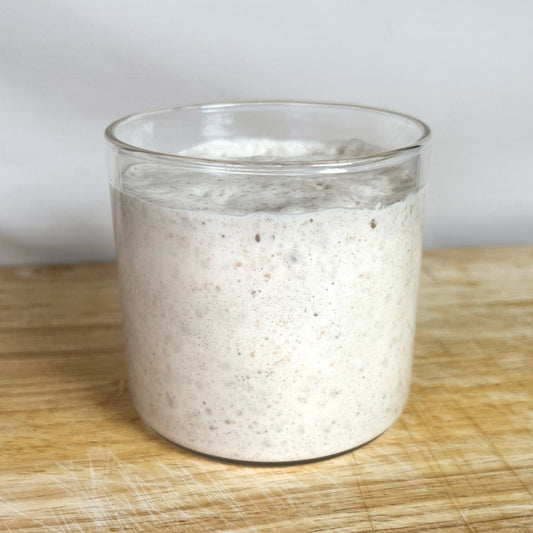
Your sourdough starter is a living culture of wild yeast and friendly bacteria. It’s the heart of any sourdough starter kit, providing natural leavening and tangy flavour.
1.1 Unpack & Inspect
Upon arrival, please unpack and feed as soon as possible.
1.2 Feed Your Starter
Your first feed is included in the jar so just mix the amount of water as instructed. Full instructions can be found here.
1.3 Let It Rise
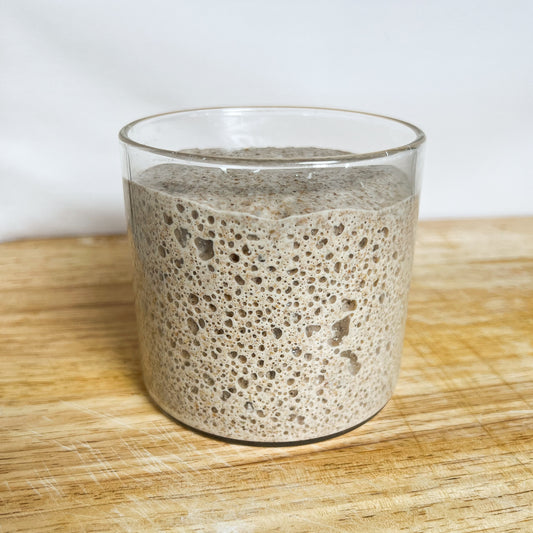
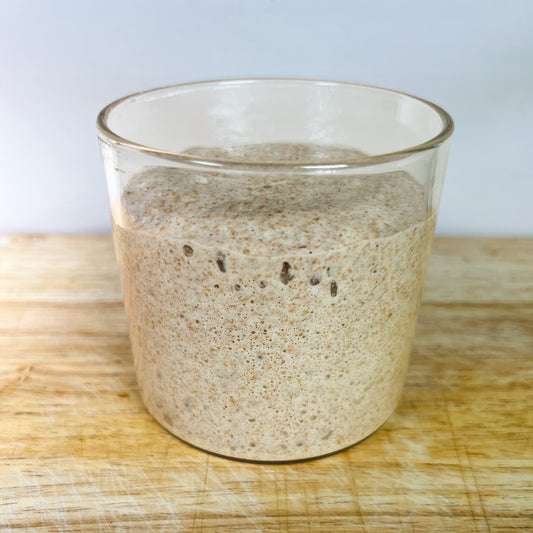
Cover loosely and leave at room temperature (18 – 24 °C) for 6–12 hours, until doubled in size and showing lots of bubbles.
Pro Tip: Consistency is key for healthy fermentation—feed your starter regularly to keep it as active as possible.
2. Preparing Your Dough with the Plastic Bowl Scraper
Your plastic bowl scraper is perfect for mixing, folding, and transferring dough without losing precious starter.
2.1 Autolyse
- In a clean bowl, combine 500 g strong bread flour and 350 g water.
- Use the bowl scraper to mix until no dry patches remain.
- Rest for 30 minutes to hydrate the flour.
2.2 Incorporate Starter & Salt
- Add 100 g active starter and 10 g salt.
- Scrape the sides and bottom of the bowl to fully integrate ingredients.
The bowl scraper ensures minimal dough sticking—making clean-up a breeze.
3. Bulk Fermentation & Folding with the Metal Bench Scraper
During the bulk rise, you’ll strengthen gluten and develop structure. Your metal bench scraper is ideal for dough handling on the countertop.
3.1 First Fold (30 minutes in)
Lightly wet your hands. Reach under one side of the dough, stretch up, and fold over. Rotate the bowl 90°; repeat 3–4 folds.
3.2 Subsequent Folds
Repeat folds every 30–45 minutes until the dough has expanded by about 30–50%.
3.3 Shaping
Turn dough onto a lightly floured surface. Use the metal bench scraper to portion and shape—tuck edges under to build tension.
The rigid metal edge gives you clean cuts and precise handling, essential for even loaves.
4. Final Shaping & Scoring with the Bread Lame
A bread lame (pronounced lahm) lets you score stunning patterns and control oven spring.
4.1 Pre-Shape & Bench Rest
After bulk fermentation, gently shape into a round or oval. Let rest 20 minutes.
4.2 Final Tension Shape
Using your hands and bench scraper, create a taut surface by rotating and pulling dough towards you.
4.3 Scoring
- Transfer dough seam-side up into a well-floured proofing basket or bowl.
- After final proof (2–4 hours at room temperature or overnight in the fridge), flip onto a baking tray or banneton-lined peel.
- Hold the lame at a 30–45° angle and make swift, confident cuts—single long slash for a classic look, or multiple for decorative motifs.
Proper scoring guides expansion and prevents random rips.
5. Baking Your Loaf
5.1 Preheat
Heat your oven (with a Dutch oven or baking stone) to 240 °C (465 °F) at least 30 minutes before baking.
5.2 Bake with Steam
Place your loaf inside the preheated vessel. For extra steam, add a few ice cubes or a tray of boiling water.
5.3 Temperature Drop
After 15 minutes, remove the lid or lower rack 2; bake another 15–20 minutes until crust is deep golden.
Let your loaf cool at least 1 hour on a wire rack—this finishes the crumb structure.
6. Troubleshooting & Tips
- Starter Inactivity? Ensure you’re feeding at consistent intervals and at a warm enough room temperature.
- Dense Crumb? Try longer bulk fermentation or more frequent folds.
- Low Oven Spring? Check your scoring depth; too shallow cuts limit expansion.
Wrapping Up Your First Bake
Congratulations—by following this step-by-step guide, you’ve unlocked the secrets of your sourdough starter kits and mastered each tool:
- Original Sourdough Starter: the living heart of your bake
- Plastic Bowl Scraper: mixing and cleaning made simple
- Metal Bench Scraper: precision handling and folding
- Bread Lame: artistry and performance in scoring
Ready for more? Explore advanced recipes, flavor add-ins, and shaping techniques on our blog. If you loved this guide, share your loaf photos with us—and remember, every great baker started with a sourdough kit just like yours.
Happy baking! 🍞

